Encountering the error message “Reboot and Select Proper Boot Device” on your Windows 10 computer can be a frustrating experience, especially if you’re not sure what it means or how to resolve it.
This error typically appears when your computer is unable to locate a valid boot device to load the operating system.
In this detailed guide, we will explain the meaning of this error, explore its common causes, and provide solutions to help you get your system up and running smoothly.
Understanding the Error Message
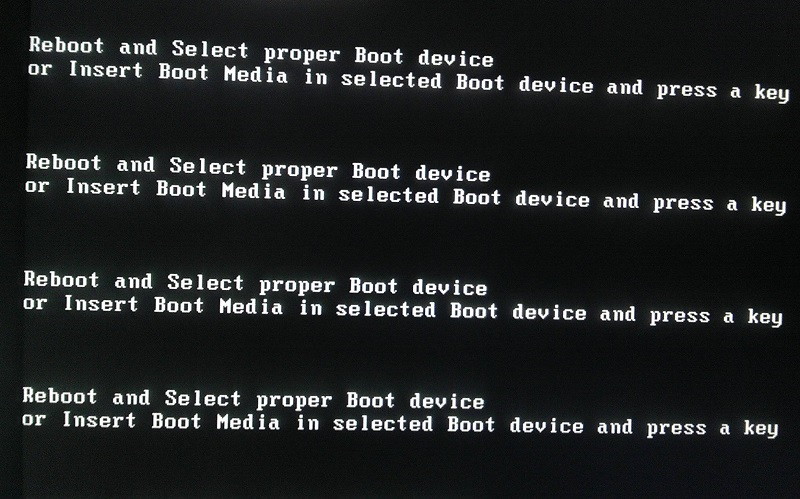
The error message “Reboot and Select Proper Boot Device” is a BIOS or UEFI error that occurs during the startup process of your computer.
It indicates that the system cannot find a valid boot device to load the operating system (usually Windows). Instead of booting into your OS, the computer prompts you to reboot and select the correct boot device.
Read Also:
Common Causes of the Error
Several factors can lead to the “Reboot and Select Proper Boot Device” error:
- Incorrect Boot Order: Your computer’s BIOS or UEFI firmware is set to boot from a non-bootable device, such as a USB drive or an empty hard drive, instead of your primary boot device (usually the internal hard drive or SSD).
- Boot Device Failure: A failure in your primary boot device, such as a damaged hard drive or SSD, corrupted boot sector, or a loose connection, can prevent the system from finding a valid boot source.
- Disconnected or Loose Cables: Loose or disconnected cables connecting your storage device (e.g., SATA or power cables) to the motherboard can cause boot issues.
- Boot Device Priority: If you have multiple storage devices installed (e.g., multiple hard drives, SSDs, or external drives), the BIOS/UEFI may be trying to boot from the wrong device.
- Corrupted Boot Configuration: Issues with the Master Boot Record (MBR) or Boot Configuration Data (BCD) can prevent the system from booting correctly.
Fix: Reboot and Select Proper Boot Device
Now that we’ve covered the possible causes, let’s explore solutions to resolve the “Reboot and Select Proper Boot Device” error:
Method 1 – Boot Order Needs to be Changed
Step 1 – Firstly, the computer should be turned off.
Step 2 – Secondly, boot the computer. This is done by pressing the power button.
Step 3 – Next, BIOS settings should be entered. It is done by using either F12, F2, ESC, or delete key.
(The key needs to be chosen, by reading the manual. As it depends on the brand of the computer. Or the exact key can also be found by Google search, asking for ways to enter bios, with the model number.)
Step 4 – In the BIOS setup utility, choose the boot option. Change the operating system drive to the primary boot device.
Step 5 – Finally, save the made changes and restart the computer.
Method 2 – Check If The Hard Disk Has Failed
As stated earlier, this issue may happen because the hard disk has failed. To see if this is the root of the caused error and to fix this follow the following ways:
Step 1 – For easy recovery essentials, download an ISO file.
Step 2 – The downloaded ISO file needs to be burnt. It could be either onto cd/dvd or USB.
Step 3 – Now, insert the media into the affected computer. Then, boot from the media.
Step 4 – Restart the computer.
Step 5 – Now, select an automated repair option. And click on continue.
Step 6 – After the completion of the automated repair, check if the hard disk drive is falling. If it is so, replaces it with the new one.
Method 3 – Set Primary Hard Drive As the Active One
This method includes the setting of the primary hard drive as the active one. Steps to follow:
Step 1 – First of all, the Windows installation disc is to be inserted.
Step 2 – After that, restart the computer. Then boot it from the inserted media.
Step 3 – Now, navigate to the system recovery option window. Select the option to troubleshoot.
Step 4 – Now, the Troubleshoot option will appear. Choose the advanced options.
Step 5 – From the advance option menu, choose a command.
Step 6 – At last, press enter, after typing diskpart.
Method 4 – Replacement of CMOS Battery
Another method to fix this error includes, replacement of CMOS battery found in circular shape inside the motherboard. Sometimes this battery gets damaged, so replacing this with the new one will be helpful.
Before adding the new battery, hold the computer’s power button for at least 10 seconds, to make sure that there is no residual charge left. There is a high chance that using this process, and the computer will regain.
Some computer systems have UEFI in place of BIOS. In these computers, the legacy mode can be the reason for this errors. To fix this, the steps are:
Step 1 – First of all, restart the computer.
Step 2 – Then, open the UFFI menu. It could be done by pressing either F2, F12, F8, or DEL key, depending on the model of the system.
Step 3 – Now, find the legacy option, and switch it off. This option can be found inside the security tab.
Step 4 – Before leaving, save the changes.
Step 5 – Again, restart the computer after exiting from the UFFI menu.
This problem can also be fixed by reinstalling Windows.
Reinstalling Windows is tested and tried the method, but many times it proved to be effective. Sometimes it may happen that the above said Solution are not working, then this is the option to fix.
Read Also:
- Windows Key Not Working
- DNS_Probe_Finished_Bad_Config
- Potential Windows Update Database Error Detected


