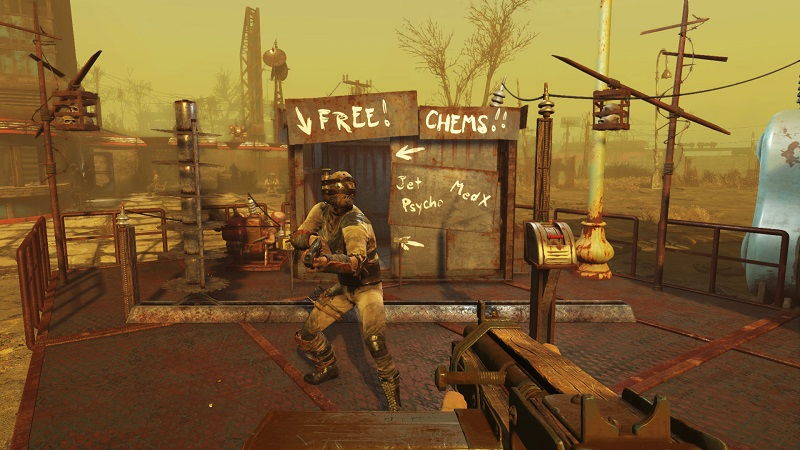
Steam app is a software that allows you to download games and take their screenshots and store them in your preferred file locations. Here you can create your own ID and then store your screenshots in the hard drive too.
Steam makes you able to take the screenshots of the game while you are playing it just with ‘F12’ key or the hot key.

Also it makes gaming experience a whole lot better and can be used in any device whether any PC, Android or even iOS devices connected via 5Ghz network or Ethernet to a host system and so on.
Read Also:
Understanding the Steam Screenshot Folder
When you play games on Steam and decide to capture a screenshot, the platform stores these images in a dedicated folder on your computer.
Each game you take screenshots in will have its own subfolder within the main Steam screenshot directory. This organization helps keep your gaming memories neatly sorted, making it easier to find specific screenshots.
Key Aspects of the Steam Screenshot Folder:
- Folder Hierarchy: The Steam screenshot folder is structured with a main directory containing subfolders for each game that has generated screenshots. This hierarchy ensures that your screenshots remain organized.
- File Formats: Screenshots captured through Steam are typically saved in the JPEG (Joint Photographic Experts Group) format, which provides a good balance of image quality and file size.
- Accessibility: While Steam offers a user-friendly way to view and manage your screenshots through its built-in interface, you may also access the screenshot folder directly on your computer for additional control and customization.
Significance of Accessing the Steam Screenshot Folder
Accessing the Steam screenshot folder is significant for several reasons:
- Memorable Moments: Your gaming screenshots are visual records of memorable moments and achievements in your favorite games. Accessing them allows you to reminisce and share these experiences with friends.
- Sharing and Social Media: By accessing the screenshot folder, you can easily share your gaming achievements on social media platforms or with the Steam community, showcasing your gaming prowess.
- Editing and Customization: The direct access to your screenshot folder enables you to edit and customize your gaming captures using image editing software, creating stunning visuals and wallpapers.
- Backup and Organization: It allows you to back up your screenshots to external storage devices or organize them in a way that suits your preferences.
How to Create Your Own Steam ID
- You have to download STEAM app from the browser and then launch it in your PC or any other system.
- Enter your email address where asked and enter the code sent on your email.
- Enter your preferred username and then set the password.
How to Find Your Steam ID
- Open your Steam Client, click ‘view>settings>display Steam URL address when available’ check it and save the changes.
- Your Steam ID is now displayed on your screen under dropdown option located on upper most left side of your screen named as ‘STORE, LIBRARY, COMMUNITY,YOUR NAME’.
- Or,
- Go to your Steam profile and click ‘VIEW PROFILE’ and the numbers located at the end is your Steam ID that you can use to locate your saved pictures.
How to Download Your New Steam Games
- You go to the store and either purchase or select the ‘free to play’ option in order to play your games and take their in-game screenshots.
- The information about each game is provided so select according to your preferences.
How to Take in-game Screenshot
- Once the game is downloaded, run it and once you are done ,take the screenshot of the in-game screen using the ‘hot key’ or the ‘F12’ key on your keypad.
- The screenshot is taken and now is in your Steam ID folder.
- You can publish and also upload these in-game screenshots on your Steam profile or any other social media platforms.
How to Find and Access Your Screenshots
- You can usually find them in your Steam profile or other social media platforms.
- But in case you find difficulties.
There are two ways of finding them:
Method 1 – The Screenshot Manager
Use your Steam client to view all the in-game taken screenshots using Screenshot manager. To open screenshot manager:
Step 1 – Open your steam window. Most upper left of the screen, find dropdown named ‘VIEW‘.
Step 2 – Click ‘VIEW‘ > ‘SCREENSHOTS‘. You can upload preferred screenshot or delete it. For the hard drive, you can access the screenshots by clicking ‘SHOW ON DISK‘. In case you find any screenshot worthless, delete it from hard drive and it is deleted permanently.
Now you can have access to all the in-game screenshots and use them however and whenever you desire to.
Method 2 – Accessing The Screenshot Folder Physically
When you wish to access the screenshots offline. You can have it all by saving them manually to any folder in your pc. These are also saved physically in your file location. Here all the taken in-game screenshots are being saved physically or manually.
The default location for this is Local Disk C of your PC or any other system. Now you can access these screenshots as preferred by you.
How to Access the Steam Screenshot Folder
Accessing the Steam screenshot folder is a straightforward process, but the specific steps may vary depending on your operating system (Windows, macOS, or Linux). Below, we outline the general steps for each OS:
For Windows:
- Locate the Steam Folder: The Steam screenshot folder is typically located within the Steam installation directory on your computer. The default path is “C:\Program Files (x86)\Steam” for 64-bit systems or “C:\Program Files\Steam” for 32-bit systems.
- Access the Screenshot Folder: Within the Steam installation directory, navigate to the “userdata” folder, followed by your Steam user ID (a numeric folder). Inside your user ID folder, you will find a “760” folder.
- Game-Specific Folders: The “760” folder contains subfolders named after each game you’ve taken screenshots in. Locate the desired game’s folder to access its respective screenshots.
- View or Copy Screenshots: Inside the game-specific folder, you will find your screenshots. You can view, copy, or move them as needed.
For macOS:
- Open Finder: Launch Finder on your Mac.
- Navigate to the Steam Folder: In Finder, click “Go” in the top menu and select “Go to Folder.” Enter the following path and click “Go”: “~/Library/Application Support/Steam.”
- Access the Screenshot Folder: Within the “Steam” folder, locate the “userdata” folder, followed by your Steam user ID (a numeric folder). Inside your user ID folder, you will find a “760” folder.
- Game-Specific Folders: The “760” folder contains subfolders named after each game you’ve taken screenshots in. Locate the desired game’s folder to access its respective screenshots.
- View or Copy Screenshots: Inside the game-specific folder, you will find your screenshots. You can view, copy, or move them as needed.
For Linux:
- Open File Manager: Launch your preferred file manager on your Linux distribution.
- Navigate to the Steam Folder: Locate the Steam screenshot folder on Linux, typically under “
/.steam” or “/.local/share/Steam.” - Access the Screenshot Folder: Within the Steam screenshot folder, navigate to the “userdata” folder, followed by your Steam user ID (a numeric folder). Inside your user ID folder, you will find a “760” folder.
- Game-Specific Folders: The “760” folder contains subfolders named after each game you’ve taken screenshots in. Locate the desired game’s folder to access its respective screenshots.
- View or Copy Screenshots: Inside the game-specific folder, you will find your screenshots. You can view, copy, or move them as needed.
Read Also:
Conclusion
That’s all on the subject. Hope this guide proved useful to you. Thank you for reading! Happy gaming!


